http://news.softpedia.com/news/How-to-Install-OpenOffice-org-3-1-on-Ubuntu-9-04-111105.shtml
Você encontra um manual completo sobre como instalar o openoffice 3.1 no ubuntu 9.04
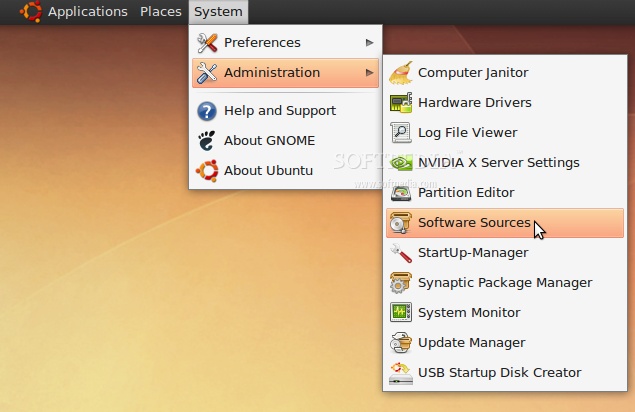
STEP 1 - Add the OpenOffice.org 3.1 repositories
Go to System -> Administration -> Software Sources...
 |
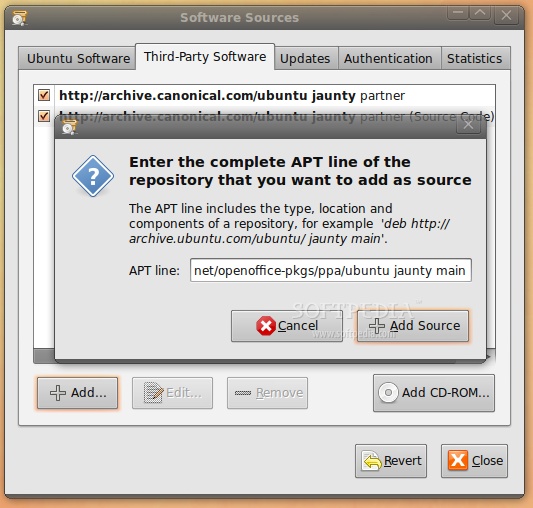
Enter your password. Go to the second tab, "Third-Party Software," click on the "Add" button, and paste the line below for your Ubuntu distribution...
For Ubuntu 8.04
deb http://ppa.launchpad.net/openoffice-pkgs/ppa/ubuntu hardy main
For Ubuntu 8.10
deb http://ppa.launchpad.net/openoffice-pkgs/ppa/ubuntu intrepid main
For Ubuntu 9.04
deb http://ppa.launchpad.net/openoffice-pkgs/ppa/ubuntu jaunty main
 |
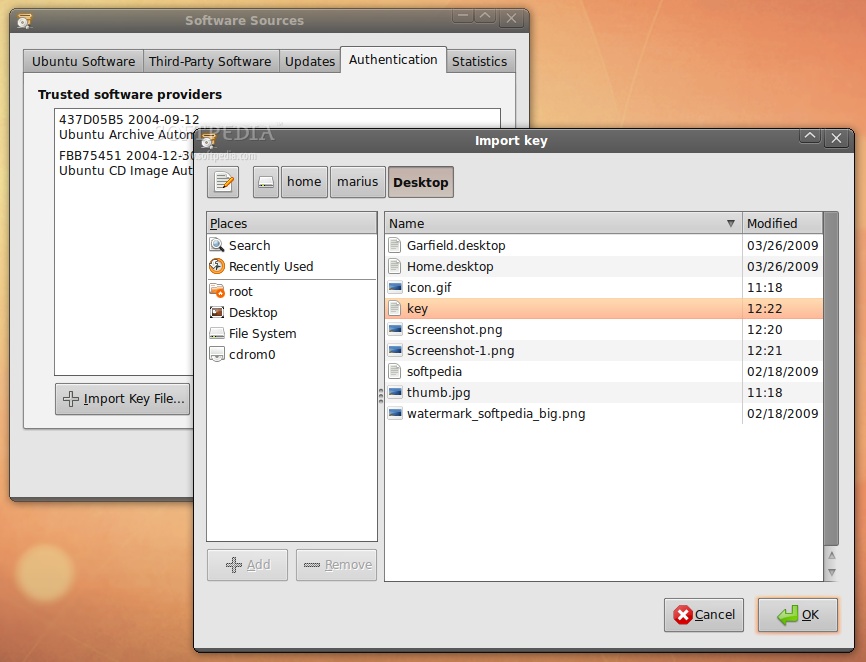
· Right click HERE and choose the "Save Link As..." options to save the key file on your desktop.
· Go to the fourth tab, "Authentication," click the "Import Key File" button, navigate to the location where you've just saved the key file (usually, it is File System/home/YOURUSERNAME/Desktop) and double click it. You will immediately see a new entry called "247D1CFF 2009-01-21 Launchpad PPA for OpenOffice.org Scribblers."
 |
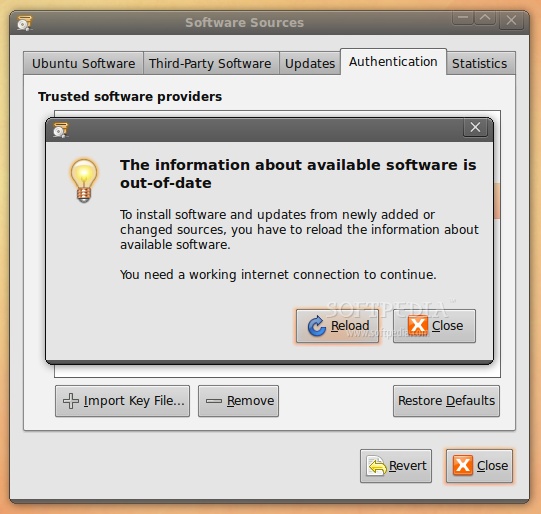
Now, click the “Close” button, then the “Reload” one and wait for the application to close!
 |
STEP 2 - Remove the old OpenOffice 3.0
Go to System -> Administration -> Update Manager...
 |
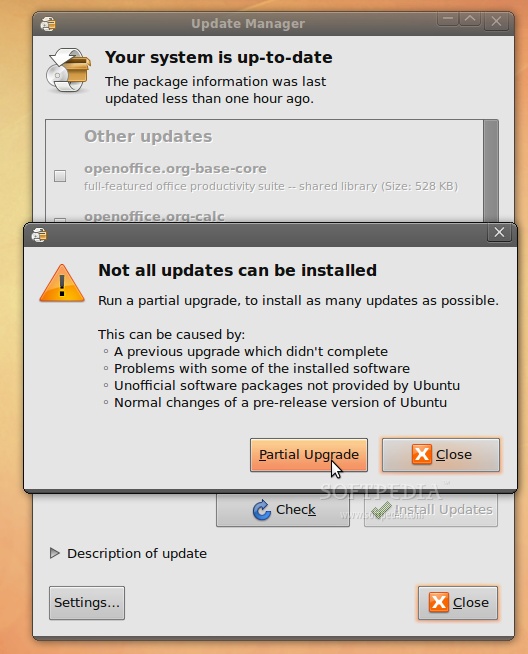
Let the Update Manager load the information about new software and click on the "Partial Upgrade" button when prompted...
 |
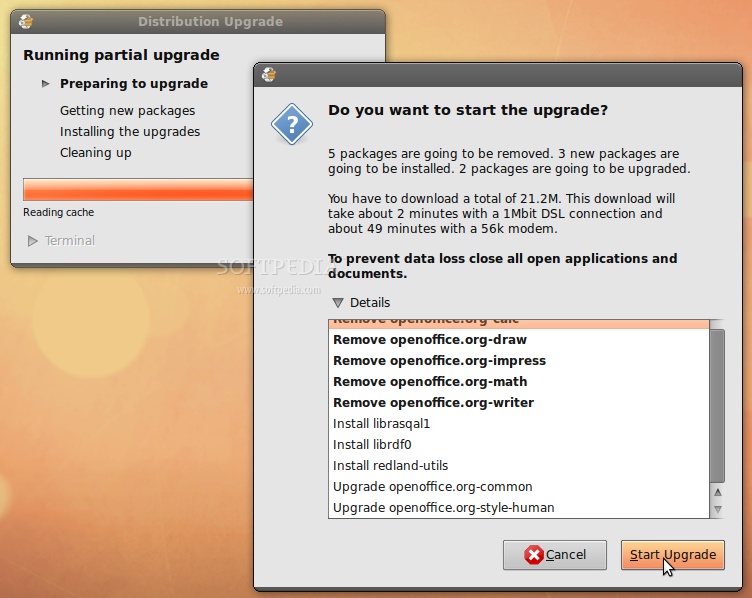
The partial upgrade will start and you will be asked to confirm the upgrade. Click on the "Start Upgrade" button...
 |
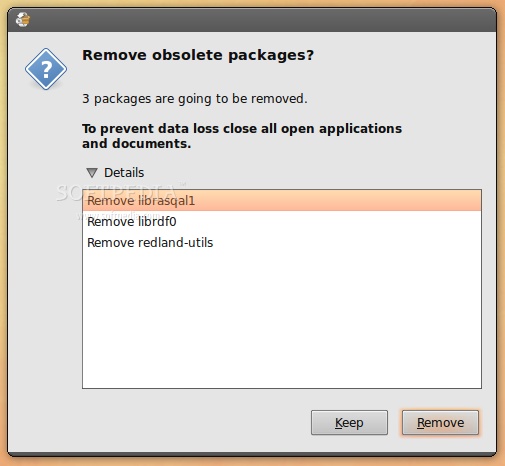
When asked to remove obsolete packages, click on the "Remove" button...
 |
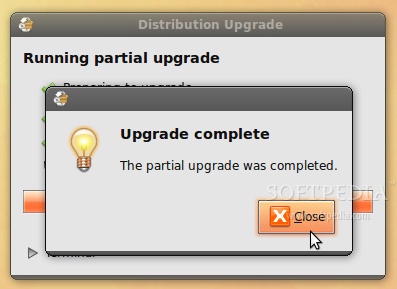
When the partial upgrade is done, click on the "Close" button to finish the removal process of the installed OpenOffice.org suite.
 |
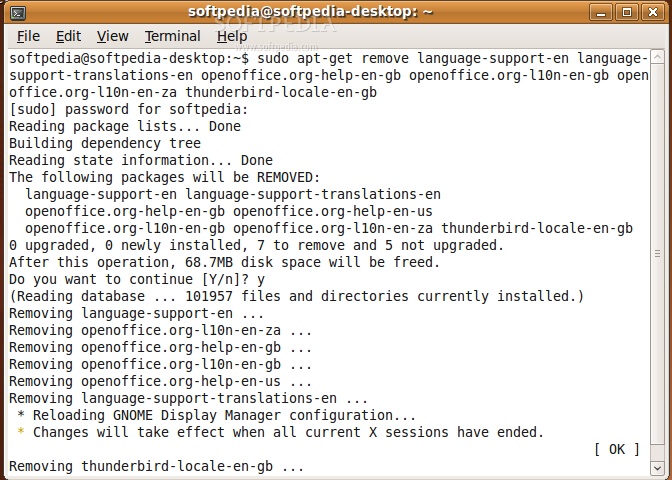
However, not all packages were removed, so you need to do it manually before installing the new OpenOffice.org 3.1. Open a terminal (Applications -> Accessories -> Terminal) and paste the following code:
sudo apt-get remove language-support-en language-support-translations-en openoffice.org-help-en-gb openoffice.org-l10n-en-gb openoffice.org-l10n-en-za thunderbird-locale-en-gb
Type Y when asked if you want to remove those packages. When it's done, close the terminal window.
 |
STEP 3 - Install OpenOffice.org 3.1
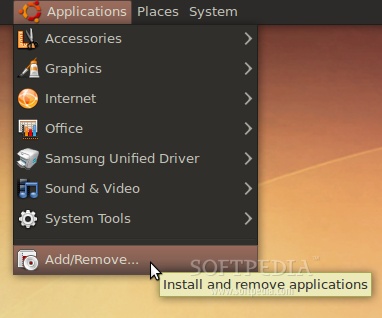
At this moment, you don't have any OpenOffice.org suite installed in your system. Therefore, go to Applications -> Add/Remove...
 |
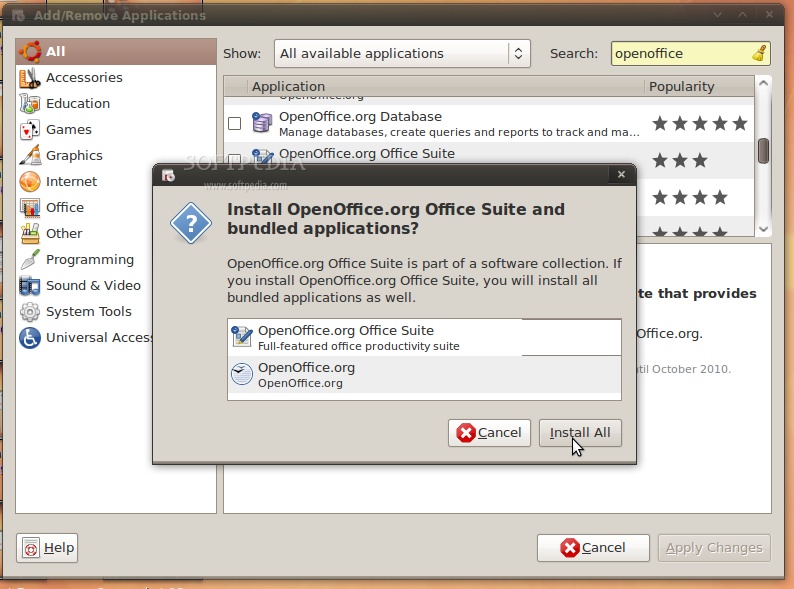
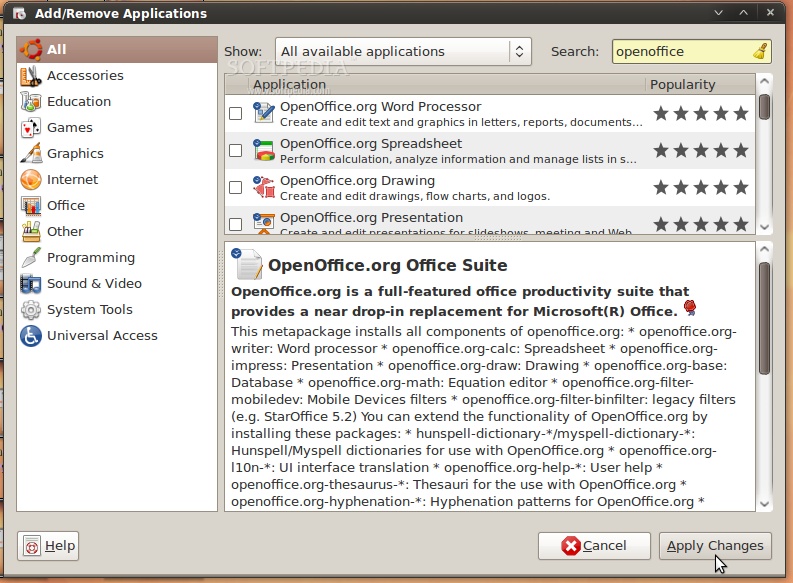
Select the "All availalbe applications" option from the "Show" drop-down menu and search for openoffice in the "Search" box. The OpenOffice.org Suite will be found... scroll down until you see it and click on the check box in front of it. Click the "Install All" button when asked if you want to install the OpenOffice.org Suite and bundled applications...
 |
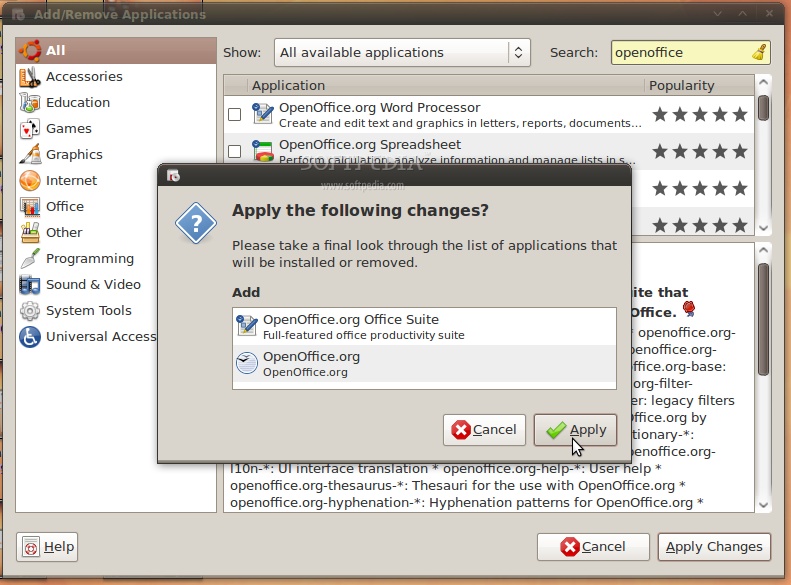
Now, click the "Apply Changes" button...
 |
Then the "Apply" button...
 |
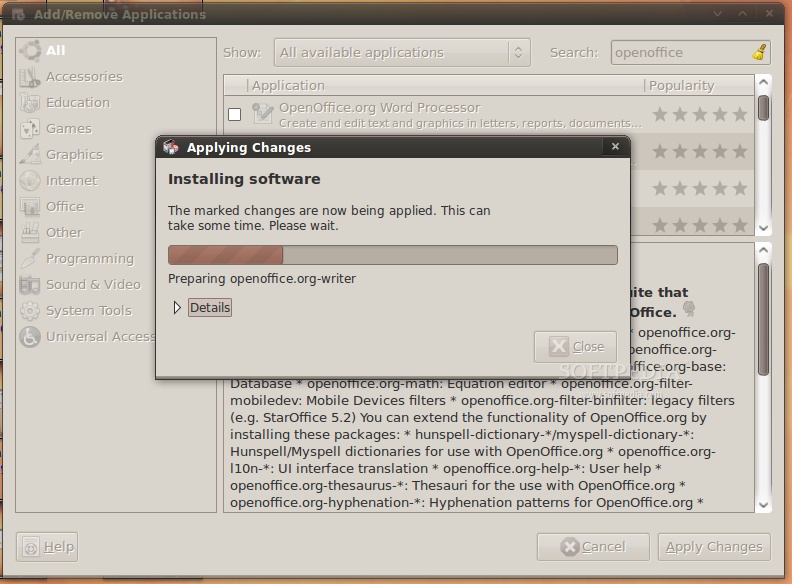
Wait for the installer to install the new OpenOffice.org packages....
 |
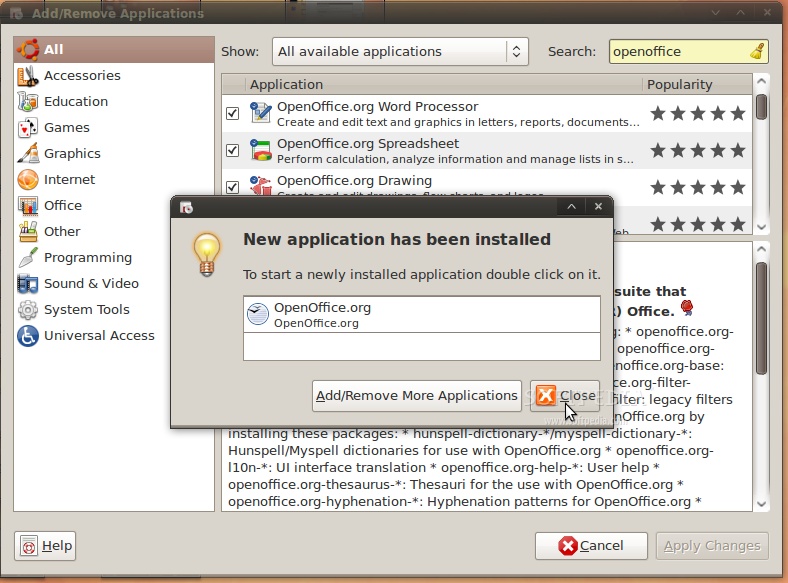
When the installation process is over, you will be notified. Click the "Close" button to close the Add/Remove software...
 |
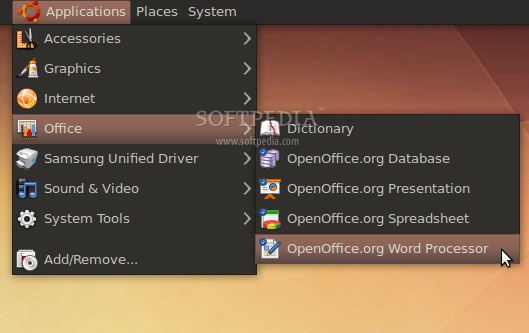
That's all, folks! Go to Applications -> Office and you can use your brand new OpenOffice.org 3.1 office suite.
 |
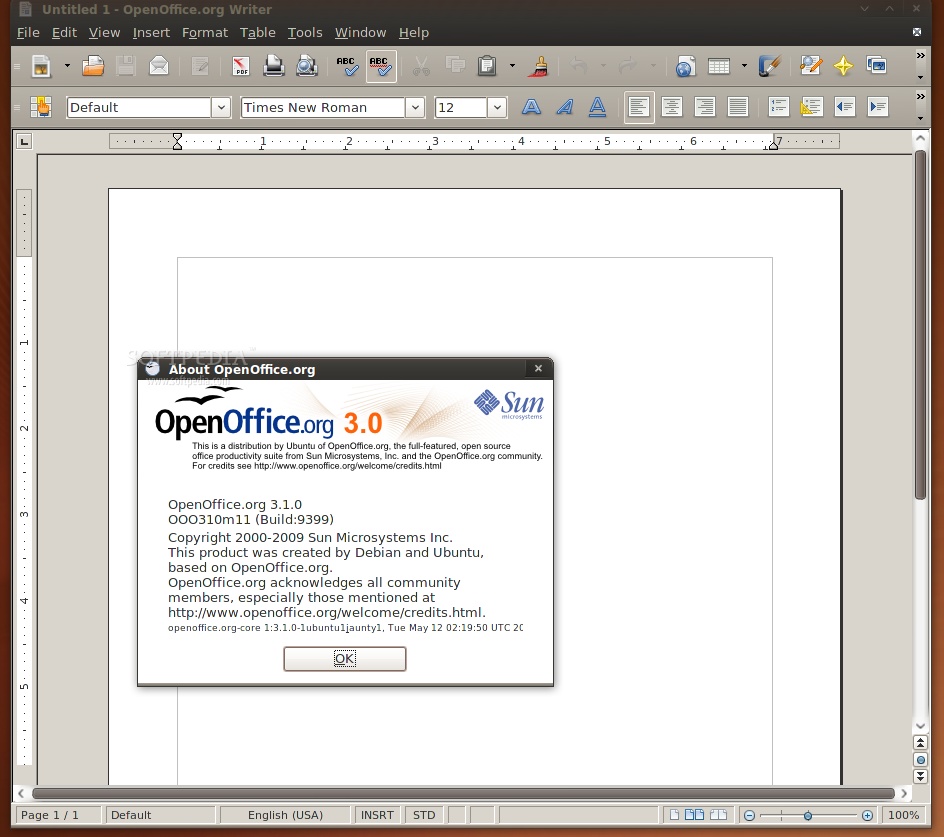
And the best part is that your open source office suite will be up-to-date from now on. Take a look below at some shots of OpenOffice.org 3.1 in Ubuntu 9.04 (Jaunty Jackalope).
 |
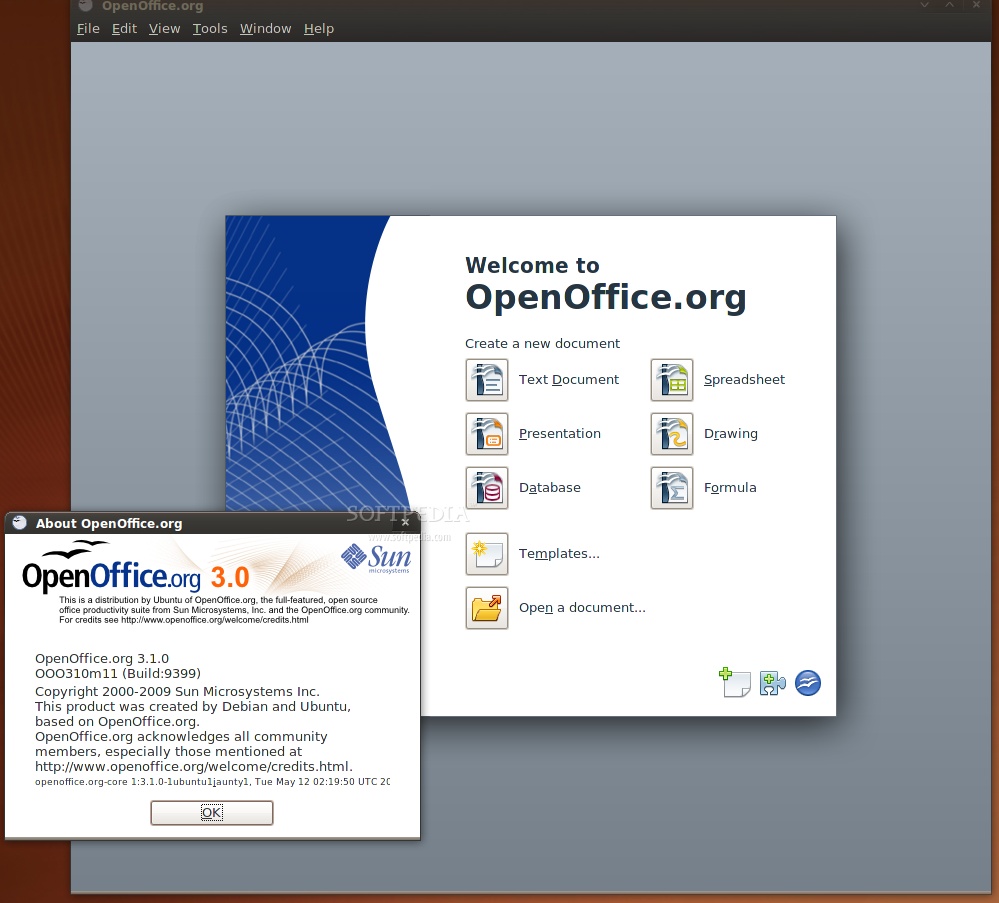 |
Credits: Special thanks go to Chris Cheney and the "OpenOffice.org Scribblers" team for creating the PPA for Ubuntu.
Nenhum comentário:
Postar um comentário
Insira seu comentário - O mesmo será submetido à aprovação!